Ever watch a high-octane action sequence and marvel at how smooth the motion appears? That’s the magic of motion blur, a subtle but essential visual effect that adds a sense of realism and fluidity to videos. It mimics how our eyes perceive fast-moving objects in real life – slightly blurred.
While some cameras and shooting conditions naturally capture motion blur, sometimes your footage needs some some help. That’s where Premiere Pro comes in! This powerful editing software offers several tools to enhance existing motion blur or create it from scratch, giving your videos a polished cinematic feel.
Table of Contents: hide
Method 1: Use the Transform Effect
Method 2: Creating Stylized Motion with “Directional Blur”
Method 1: Use the Transform Effect
In Premiere Pro, you can easily add motion blur to your video clips using the built-in Transform effect. This effect allows you to make various adjustments to your footage, including position, scale, rotation, and—you guessed it—motion blur. By enabling and fine-tuning the motion blur settings within the Transform effect, you can achieve natural-looking blur that enhances the sense of movement in your videos. Here’s how:
Step 1: Select your clip
Choose the video clip you want to add motion blur to in your timeline.
Step 2: Apply the Transform effect
Go to “Effects” > “Video Effects” > “Distort” > “Transform” and drag it onto your clip.
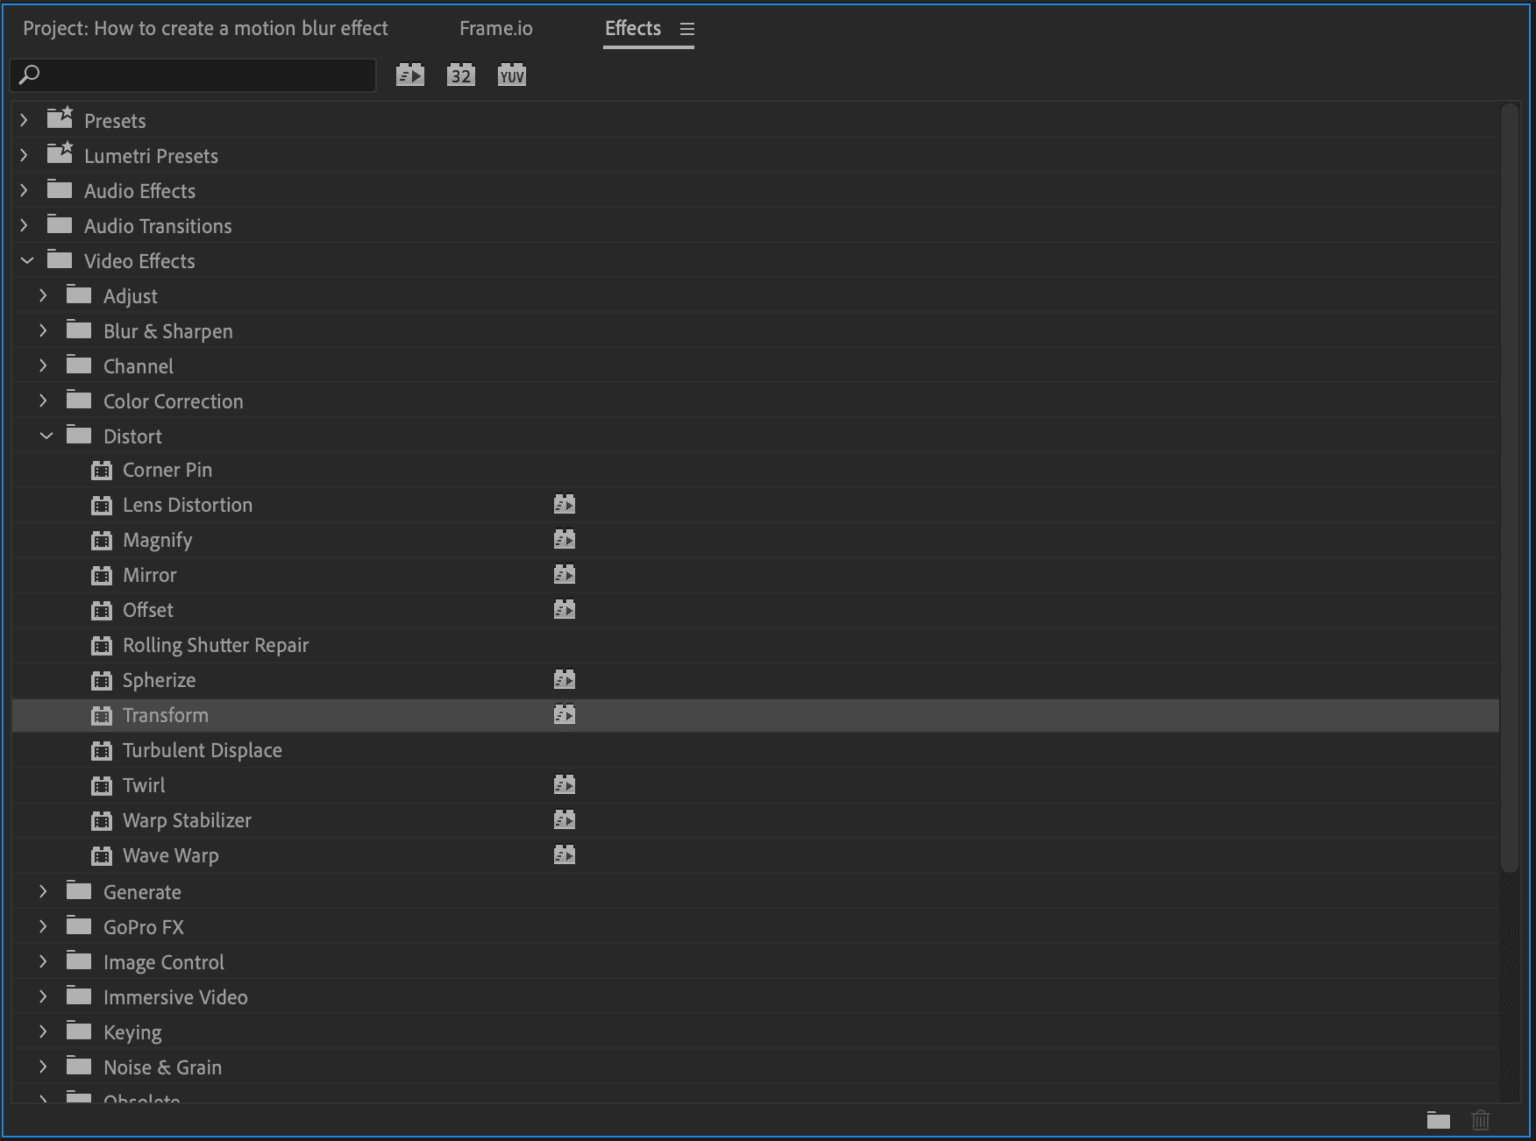
Apply the Transform effect
Step 3: Open the Effect Controls panel
Make sure the clip with the effect is selected, then go to “Window” > “Effect Controls.”
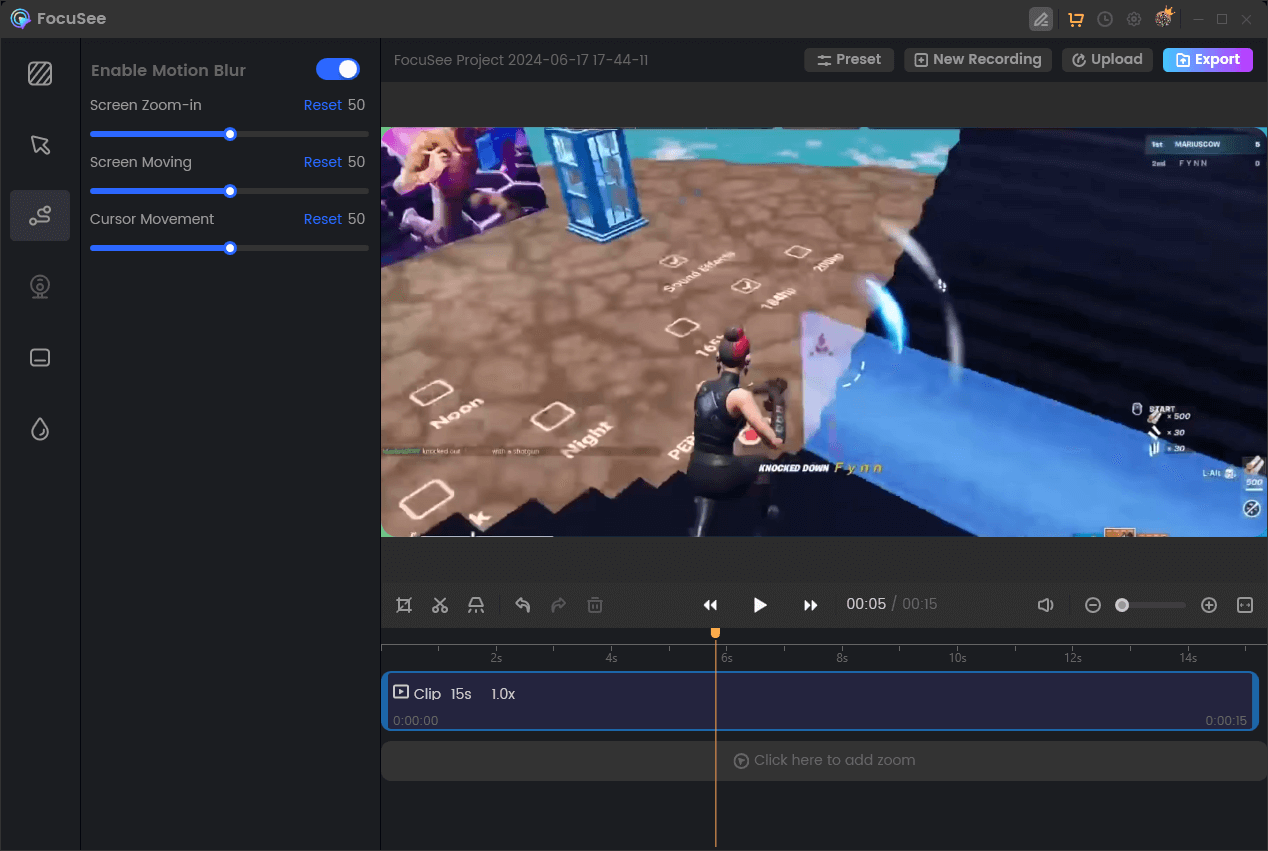
Step 4: Enable Motion Blur
In the “Transform” settings within the Effect Controls panel, check the box for “Motion Blur.”
Step 5: Adjust the “Shutter Angle”
This value determines the intensity of the motion blur. Higher values create more blur.
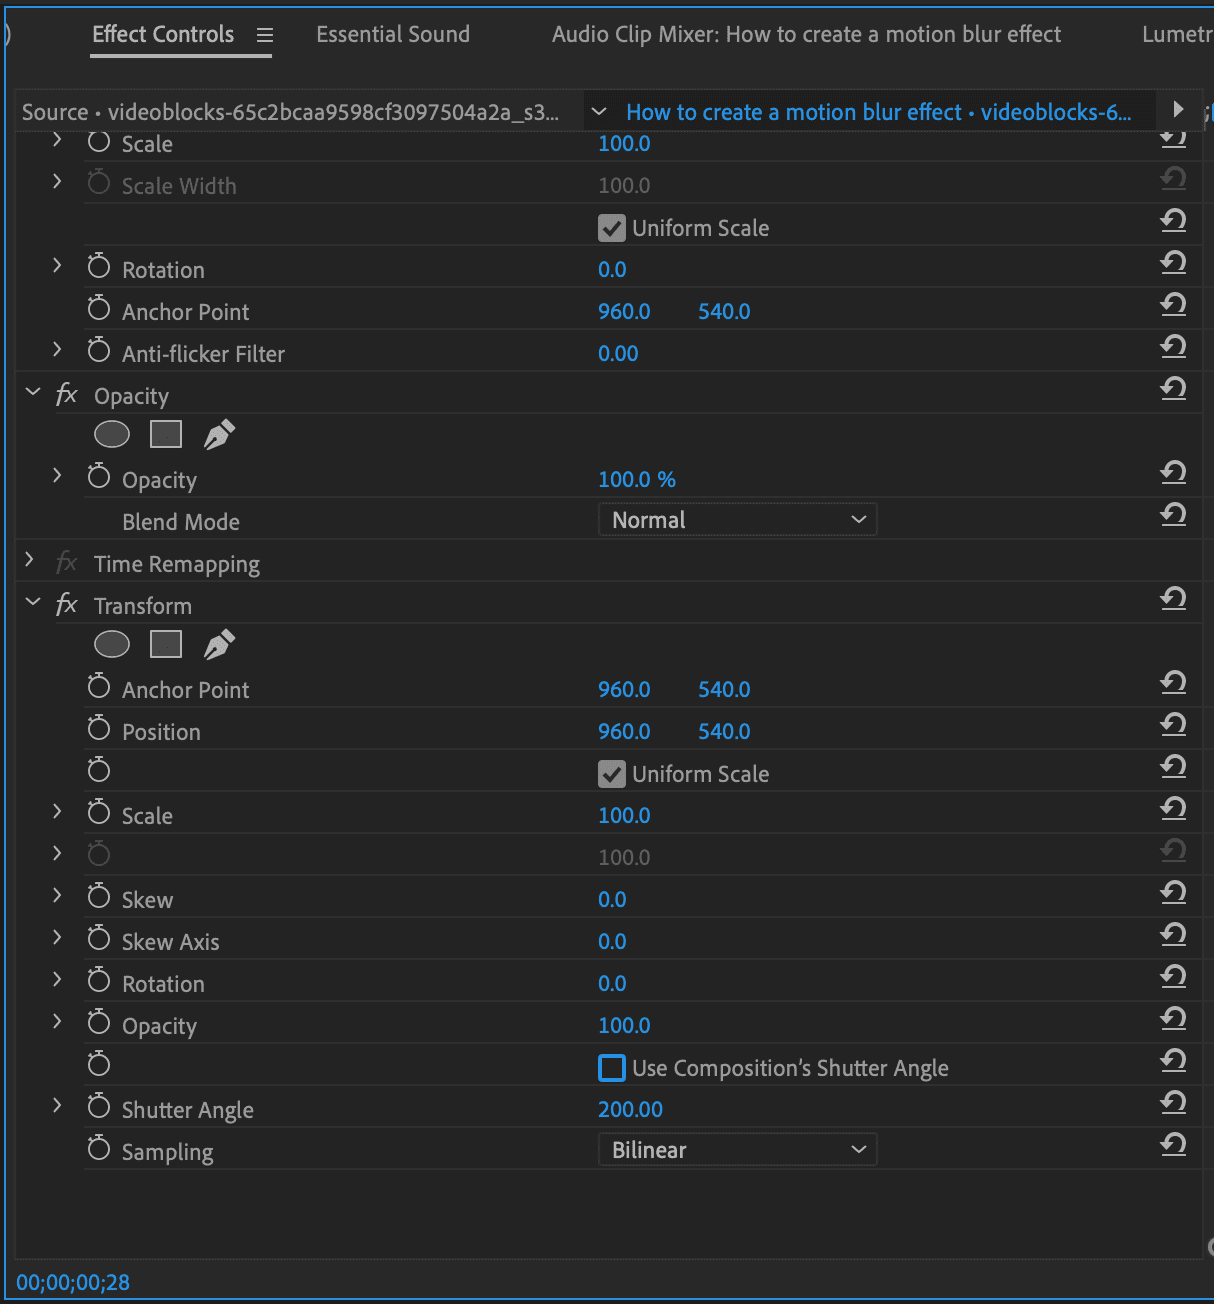
Adjust the “Shutter Angle”
Experiment with the Shutter Angle to find the perfect level of motion blur for your footage.
Method 2: Creating Stylized Motion with “Directional Blur”
The “Directional Blur” effect in Premiere Pro offers more creative control. It allows you to simulate the blur you’d see with fast panning or motion in a specific direction.
Here’s how to use it:
Step 1: Apply the Effect
Drag and drop the “Directional Blur” effect from the Effects Panel onto your footage in the timeline.
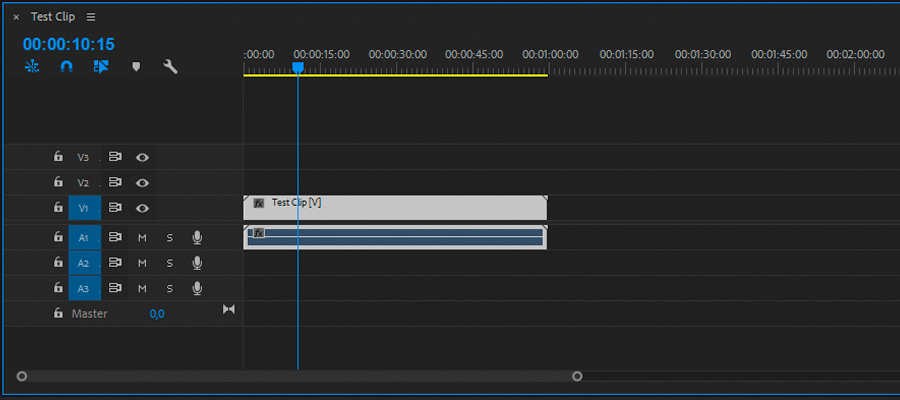
Apply the Effect
Step 2: Set the Blur Direction
Find the “Directional Blur” settings in the Effect Controls panel. The “Direction” parameter controls the angle of the blur. Adjust this value to match the direction of motion in your footage or to create a stylized effect.
Step 3: Adjust Blur Length
Similar to “Pixel Motion Blur,” the “Blur Length” parameter controls the intensity of the blur. Experiment with different values to find what looks best.
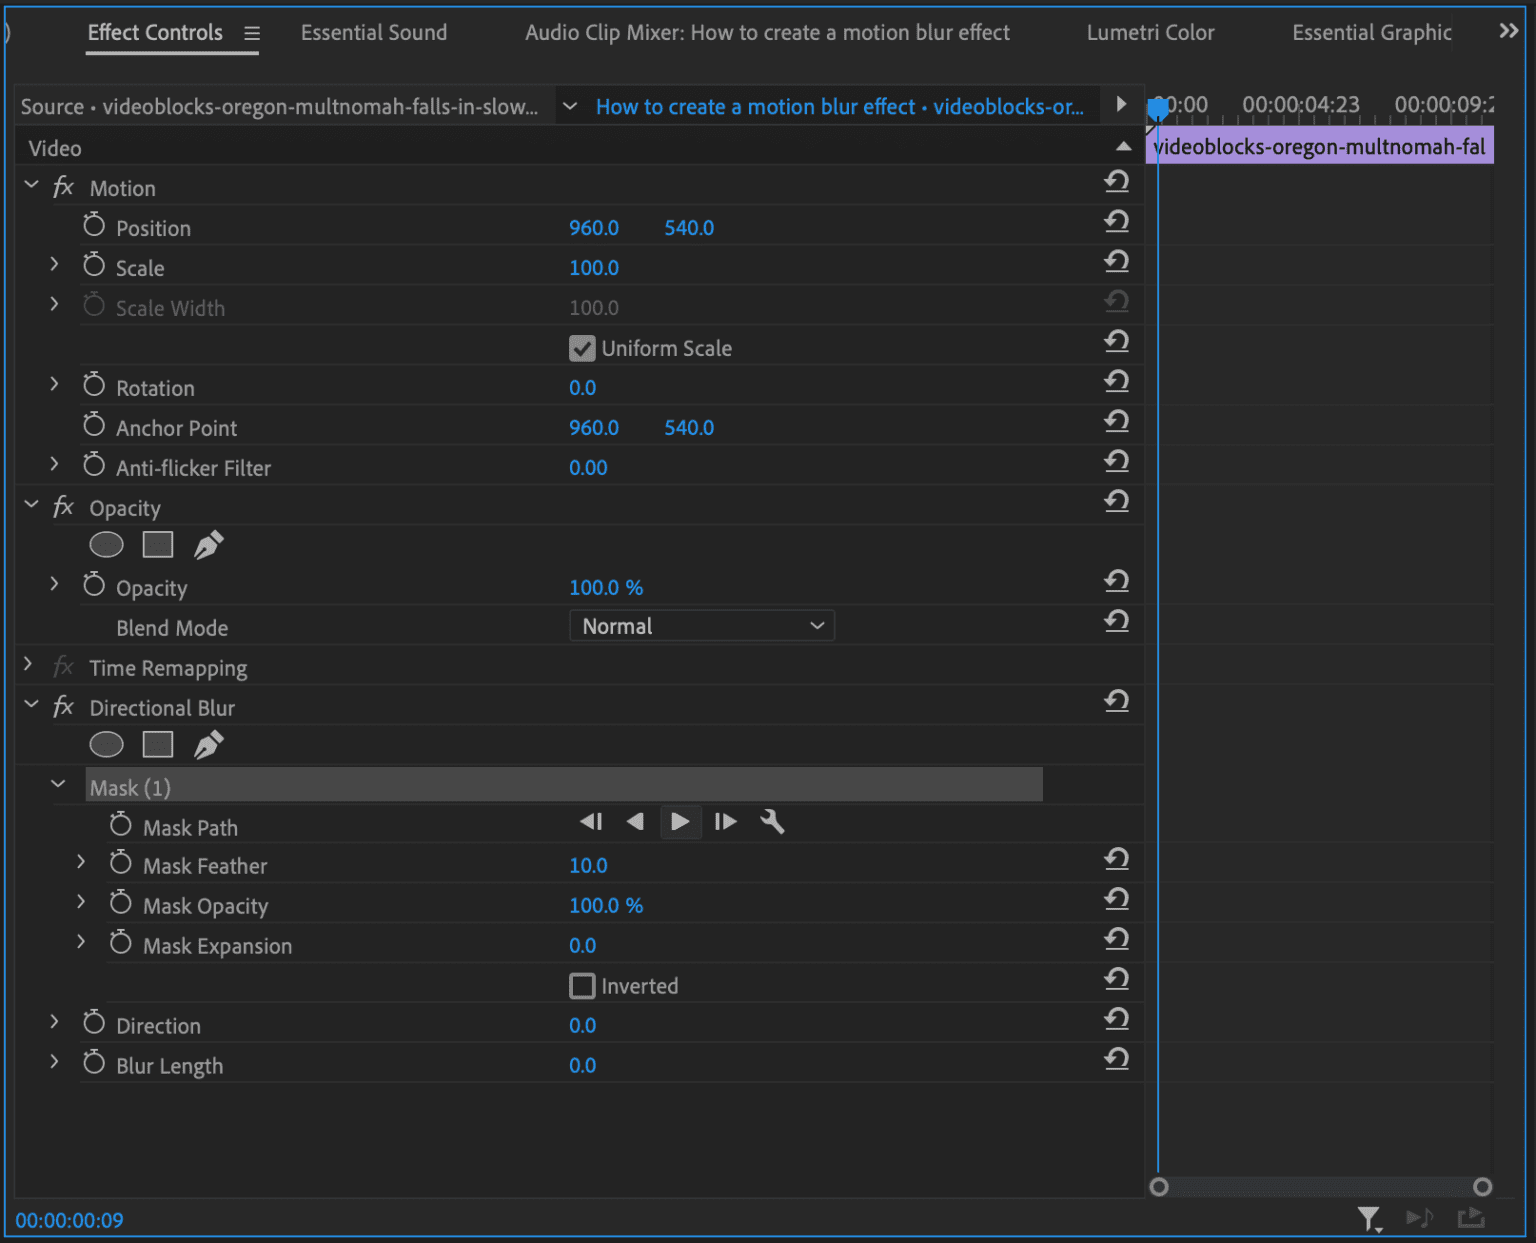
Adjust Blur Length
Step 4: Preview and Refine
Preview your footage and fine-tune the “Direction” and “Blur Length” settings until you achieve the desired look.
Advantages: “Directional Blur” excels at simulating specific movement types and can add a stylized, dynamic feel to your footage.
Tips for Natural-Looking Motion Blur
- Less is More: Avoid overdoing the motion blur. Start with subtle adjustments and gradually increase the intensity until you look natural. Too much blur can make your footage appear unrealistic and blurry.
- Consider Shutter Speed/Angle: In filmmaking, shutter speed (or shutter angle) is crucial in determining the amount of motion blur. When adding motion blur in post-production, keep this concept in mind. For a more cinematic look, use a lower shutter angle/speed. A higher shutter angle/speed might be more appropriate for faster action.
- Experiment and Compare: Don’t be afraid to experiment with different settings for each method. Every footage is unique, and finding the perfect balance of blur settings will depend on the specific content and style you’re aiming for.
Frequently Asked Questions (FAQs)
Q1: My footage already has some motion blur. Should I add more?
It depends on the footage and the look you’re going for. If the existing motion blur is subtle and you want to enhance it slightly, then yes, you can try adding more. However, if the motion blur is already prominent, adding more might make it look unnatural and excessively blurry. It’s best to experiment and trust your eye.
Q2: Which method is best for adding motion blur in Premiere Pro?
There’s no single “best” method, as each technique has its strengths and weaknesses:
Pixel Motion Blur: Easiest and fastest, but can create artifacts. Good for subtle blur.
Directional Blur: Ideal for simulating specific directional movement or stylized blur.
Echo Effect: Best for short bursts of stylized blur, transitions, or emphasizing fast actions.
The best method depends on your specific footage, desired effect, and personal preference.
Q3: Can I adjust the motion blur after applying the effect?
Absolutely! You can go back and adjust the parameters of any motion blur effect in Premiere Pro at any time. This allows for fine-tuning and experimentation until you achieve the desired look.
Conclusion
Adding or enhancing motion blur in Premiere Pro is a game-changer for creating professional-looking videos. Whether you opt for the simplicity of “Pixel Motion Blur,” the stylized approach of “Directional Blur,” or the creative blending of the “Echo” effect, mastering these techniques will significantly enhance the visual appeal and realism of your work. So, dive in, experiment, and watch your videos come to life with smooth, cinematic motion.
The post How to Add Motion Blur in Premiere Pro appeared first on Gemoo.