Imagine capturing stunning aerial views of the Himalayas, diving into the depths of the Great Barrier Reef, or even taking a virtual tour of ancient Rome – all from the comfort of your computer screen. Google Earth opens up a world of possibilities, and with the right tools, you can record and share these incredible virtual journeys.
This comprehensive guide will walk you through various methods for recording high-quality Google Earth videos, empowering you to become a digital explorer and share your discoveries with the world.
Table of Contents: hide
Why Record Google Earth Videos?
Record Google Earth with a User-Friendly Screen Recorder
Record Google Earth with a Built-in Screen Recorder
Why Record Google Earth Videos?
From educational presentations to captivating travel vlogs, the applications for Google Earth videos are endless:
- Create Engaging Educational Content: Bring geography, history, and environmental science lessons to life with dynamic visuals.
- Showcase Travel Itineraries: Share your travel plans with friends and family, highlighting must-see landmarks and hidden gems.
- Document Research Projects: Record virtual expeditions for research purposes, capturing data and observations.
- Produce Stunning Visuals for Presentations: Elevate your presentations with captivating footage of locations and landmarks.
- Share Your Love for Travel and Exploration: Inspire others with cinematic virtual tours of your favorite destinations.
Record Google Earth with a User-Friendly Screen Recorder
While several screen recording tools exist, FocuSee stands out as a powerful yet incredibly user-friendly option, perfect for capturing your Google Earth adventures. Available for both Mac and Windows, FocuSee simplifies the recording process while offering advanced features for polished results.
Here’s why FocuSee is ideal for recording Google Earth videos:
- Intuitive Interface: FocuSee boasts a clean and intuitive interface, making it easy for even beginners to navigate and start recording.
- Automatic Zoom & Focus: The software intelligently zooms in and out, following your cursor movements to highlight specific areas of interest within Google Earth.
- Picture-in-Picture Webcam Recording: Add a personal touch by recording yourself alongside your Google Earth exploration, ideal for creating engaging tutorials or travel vlogs.
- High-Quality Output: Capture your virtual journeys in stunning clarity with customizable resolution and frame rate settings.
- Effortless Editing & Sharing: FocuSee offers basic editing tools for trimming and refining your recordings, along with seamless sharing options to platforms like YouTube and Vimeo.
Recording Google Earth with FocuSee: A Step-by-Step Guide
Step 1: Download and Install FocuSee
Head to the official website and download the version compatible with your operating system. Installation is quick and straightforward.
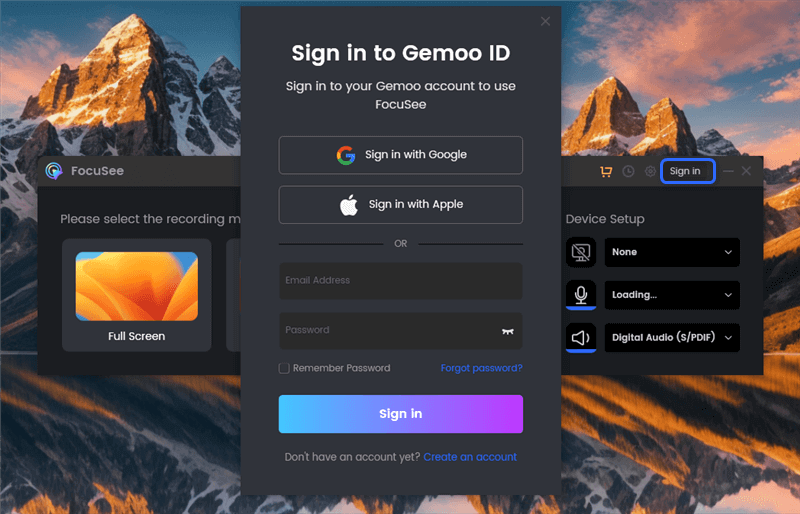
Sign in to FocuSee
Step 2: Launch FocuSee and Configure Settings:
Open FocuSee and adjust your recording settings, including recording area, audio input (microphone or system audio), and webcam settings (if desired).

Device Setup
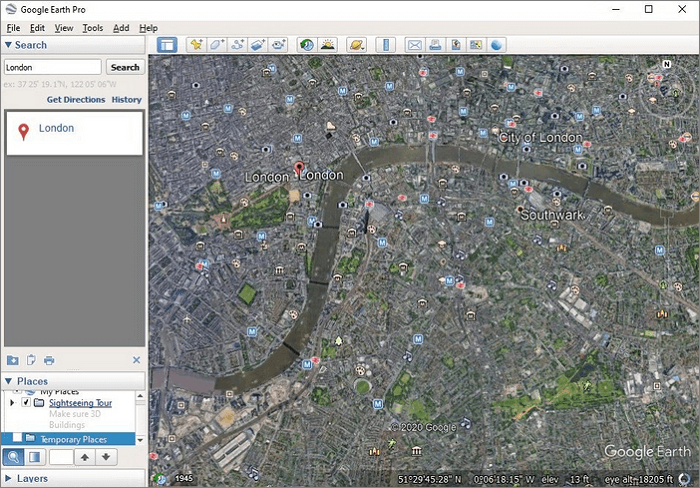
Step 3: Open Google Earth and Navigate to Your Desired Location:
Launch Google Earth and pinpoint the area you want to showcase in your video.
Step 4: Start Recording with FocuSee:
Click the “Record” button in FocuSee and begin navigating through Google Earth. FocuSee will automatically track your cursor movements, applying dynamic zoom and focus effects.
Step 5: Stop Recording and Save Your Video:
Once you’ve finished recording your virtual exploration, click the “Stop” button in FocuSee. You can then preview, trim, and save your video in your preferred format.
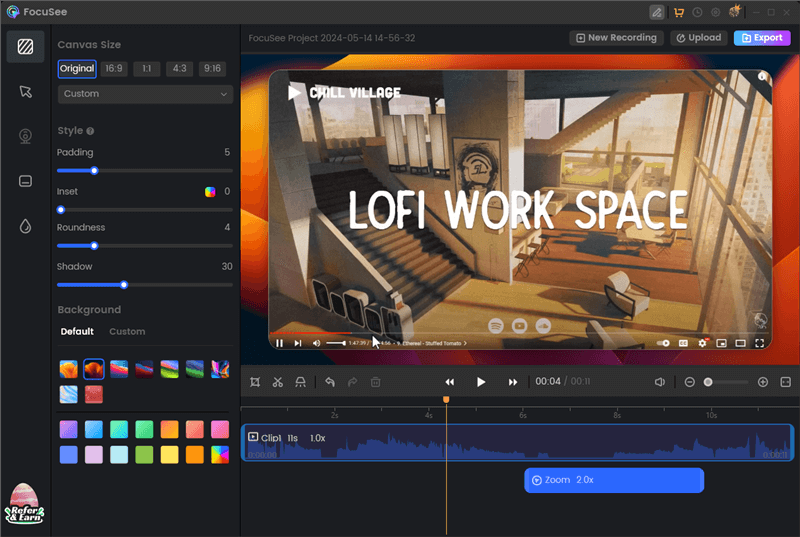
Edit the Video Recording
Record Google Earth with a Built-in Screen Recorder
For those seeking even more advanced features and control over their Google Earth recordings, Google Earth Pro is a fantastic option. This free desktop application offers a suite of tools designed for professional-grade mapping, analysis, and visualization.
Here’s how Google Earth Pro enhances your recording capabilities:
- High-Resolution Imagery and 3D Terrain: Experience breathtaking detail with access to high-resolution imagery and realistic 3D terrain models.
- Historical Imagery: Travel back in time by exploring historical imagery layers, observing how landscapes and cities have evolved over time.
- Advanced Drawing and Measurement Tools: Utilize a comprehensive set of drawing tools to highlight specific areas, measure distances, and add annotations to your recordings.
- Import and Export GIS Data: Import and integrate your own geographic information system (GIS) data, adding another layer of depth to your videos.
Recording with Google Earth Pro: A Step-by-Step Guide
Step 1: Download and Install Google Earth Pro
Visit the official website and download the free Google Earth Pro application.
Download and Install Google Earth Pro
Step 2: Open Google Earth Pro and Navigate to Your Desired Location
Launch the application and navigate to the area you wish to record.
Step 3: Adjust Your View and Utilize Pro Features
Fine-tune your view using the zoom, pan, and tilt controls. Leverage the advanced drawing tools to highlight important features or add annotations.
Step 4: Use a Screen Recording Software (like FocuSee) to Capture Your Exploration
Follow the steps outlined in the FocuSee section to record your Google Earth Pro session.
Step 5: Edit and Share Your Video
Once you’ve finished recording, use your preferred video editing software to refine your footage and share it with the world.
Record Google Earth with Open-Source Option
For those seeking a completely free and highly customizable solution, OBS Studio is a powerful open-source screen recording and streaming software. While it requires a bit more technical know-how, OBS Studio provides unmatched flexibility and control over your recordings.
Key features of OBS Studio:
- Multi-Source Recording: Capture your screen, webcam, microphone audio, and other sources simultaneously.
- Customizable Scenes and Transitions: Create dynamic recordings by setting up multiple scenes and incorporating custom transitions.
- Real-Time Audio Mixing: Fine-tune your audio levels and apply filters in real-time.
- Wide Range of Plugins and Integrations: Extend OBS Studio’s functionality with a vast library of plugins and integrations.
Recording Google Earth with OBS Studio: A Simplified Overview
Step 1: Download and Install OBS Studio
Download the appropriate version of OBS Studio from the official website.
Download and Install OBS Studio
Step 2: Add and Configure Your Sources
In OBS Studio, add “Display Capture” to record your screen and “Audio Input Capture” for your microphone.
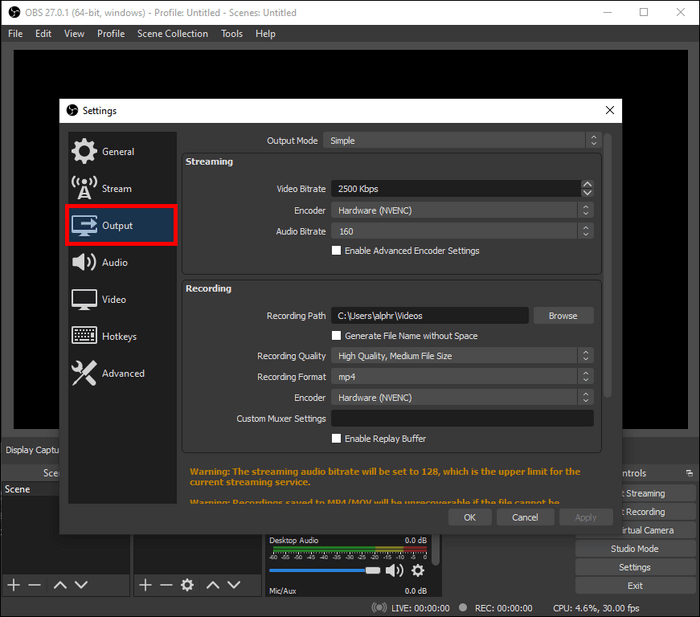
Step 3: Set Up Your Recording Settings
Adjust the resolution, frame rate, and other recording parameters in the OBS Studio settings.
Step 4: Start Recording and Navigate Through Google Earth
Initiate recording in OBS Studio and then open Google Earth to begin your virtual exploration.
Step 5: Stop Recording and Save Your Video
Once you’ve finished recording, stop the recording in OBS Studio and save your video file.
Frequently Asked Questions
Q1: Can I record Google Earth videos on my smartphone?
Yes, many screen recording apps are available for both Android and iOS devices. Search for “screen recorder” in your app store to find a suitable option.
Q2: How can I improve the audio quality of my Google Earth recordings?
Use a dedicated microphone instead of your computer’s built-in microphone for clearer audio. Additionally, record in a quiet environment to minimize background noise.
Q3: Are there any copyright restrictions when using Google Earth imagery in my videos?
Google Earth imagery is subject to copyright restrictions. Always check the specific terms of use and attribute the imagery appropriately.
Conclusion
From user-friendly options like FocuSee to the robust capabilities of Google Earth Pro and OBS Studio, numerous methods exist for capturing your virtual explorations. Whether you’re creating educational content, sharing travel experiences, or simply indulging your wanderlust, recording Google Earth videos offers an engaging and visually stunning way to explore the world from your screen.
The post How to Record Video in Google Earth [Easy Steps] appeared first on Gemoo.